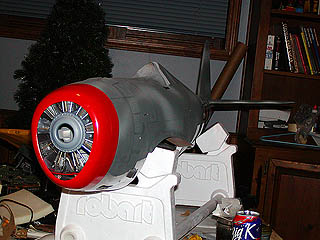
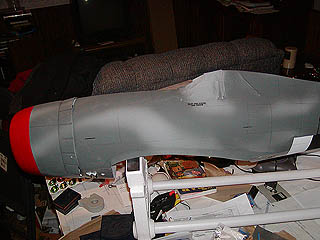
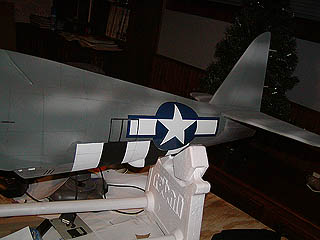
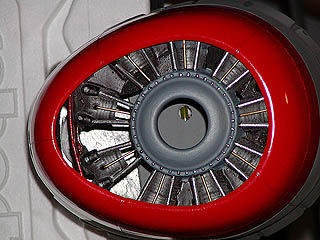
It is now January of 2002. The building on the aircraft is
completed, the glass and paint applied, and it is ready to clear-coat.
Several things have been completed since October:
LOTS AND LOTS OF SANDING!!!
Control surfaces had horn-mounting blocks installed and leading edges shaped.
Flaps were built according to the plans.
More sanding....
3/4-ounce fiberglass was applied to the whole model with Varathane.
Even more sanding...
Panel lines were installed (applied chartpak tape, then more varathane, then sand, and remove tape), on the cowl too.
Holes were drilled for Robart Point hinges all around.
Primed with Krylon White Sandable Primer (from a spray can).
Imperfections found after priming meant more sanding, some filling with thinned bondo spot-putty (and more varathane in places), then MORE SANDING.
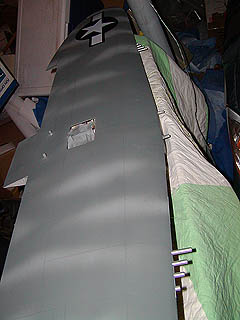
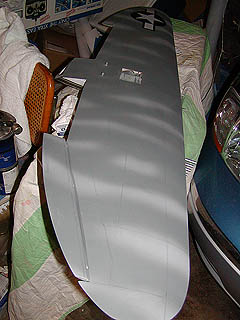
Researched paint-scheme, choose "dark green over medium-sea-gray camo, with natural metal undersurfaces" from the 56th Fighter Group.
Painted camouflage with Sherwin-Williams "Super-Paint" Flat Exterior Latex,thinned with XIM Latex Extender, using a Walcom-STM HVLP spray gun.
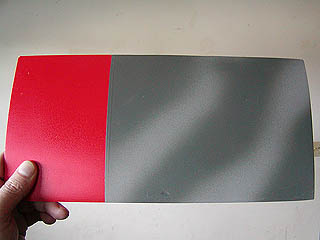
Used Sherwin-William's "Red-Door" exterior latex for the front of the cowl and for tail's control-surfaces. (Easy to see in the air, fairly scale, won't be quite as shiny under the clearcoat)
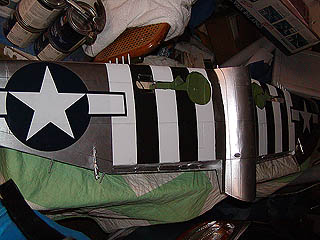
After trying several options on test-panels, painted "natural metal" undersurface with Sherwin-Williams Aluminum Marine-Enamel thinned with Chevron Perfect Thinner (made the metal "leaf" better).
Some weathering of the panel-lines and gun-ports by hand (way-thinned black latex with a drop of red and a 10/0-sized brush, I will darken the recessed lines a tad more with a #2 pencil).
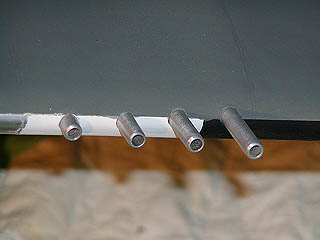
Made reasonably scale-looking machine-gun blast-tubes out of 1/4" aluminum tubing (I will paint the inside flat black).
Applied "Invasion Stripes" to bottom of wing and fuse (only on the bottom for ease of visual-orientation during flight, but it is also scale).
Applied "Stars and Bars" decals. Using the supplied decals on the fuse, but larger Major Decals versions on the wing.
Hours and countless hours spent making sure the model still had enough defects in the finish that it looked like a combat-proven warbird. (grin)
Several things left to be completed:
sanding... oh, check that... been there, done that enough!
feather a repair I made to the paint on the fuse when the first white stripe got out of its bounds.
Fix a spot on the cowl that is bothering my son, but doesn't bother me. (the transition between dark-green and metal, not the white spot, which is just a temporary un-painted nylon screw)
Some more work on the black paint on the dummy-radial (Model Masters Enamel)... to catch the overspray that my masking missed.
Clear-coating; a two-part automotive-clearcoat (Dupont ChromaClear) will be shot by a professional (Dan Stelljes, of Ashland Missouri)
Install control-surfaces, engine, and radio gear (just like an ARF!)
Range-test until I'm blue in the face! (need to run a few tanks through it to start the break-in process anyway...)
Probably replace the FM/PPM receiver with a PCM version, then range-test some more.
GO FLY!
I am happy enough with how it is looking that I am currently considering adding rivets (dry-transfer type, from Pro-Mark). Only problem is... there are over 30,000 rivets on the real plane!
