*** Andy Steere's P-47 ***
(as of March 2002)
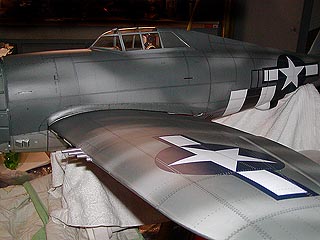
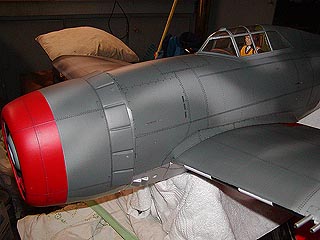
It is now March of 2002. The aircraft is clear-coated and is now ready for the equipment (engine, radio gear, and such) to be installed.
Since the end of January, the following items have been completed:
Clearcoat test. I sent a couple test panels down to be clear-coated, as a compatibility test and to see how flat the result would be.
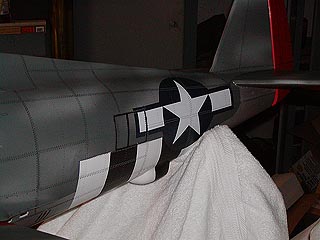
Stripped off all the Top Flite decals and replaced them with similar Major Decals versions. The clear-coat hated the TF decals I put on one of the test panels.
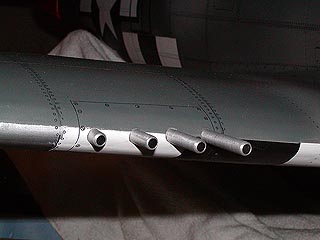
Painted the inside of the machine-gun blast-tubes flat black.
A couple touch-up spots with paint, and feathered a previous paint repair so it doesn't stand out so much.
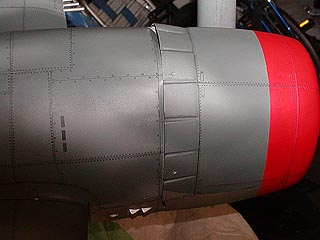
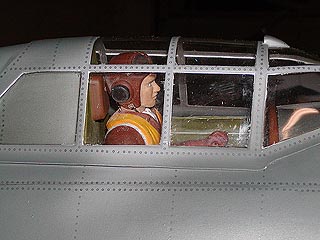
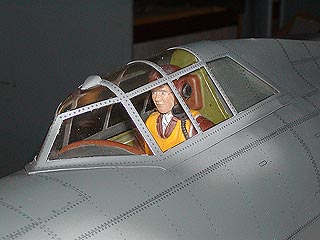
Applied approx. 25,000 rivets and 500 screws (dry-transfer type, from Pro-Mark), plus a few panel-latches and such. Yes, I'm completely nuts... I even put them on the bottom where nobody will likely ever see them.
Clear-coating with a 2-part automotive urethane clear (Dupont ChromaClear Multi-Use 7500).
I ended up helping Dan with this task... so any part of the airplane that isn't perfect... blame
me. But, any part of it that is nice... thank Dan Stelljes of Ashland, Missouri!
Lessons learned:
Despite a fairly heavy coat of clear... the model gained a total of just over 2 ounces in the
process. Way less than what I figured.
We added more flattener than the first test-panel (1:1 flattener to activated clear)... flatter, but still not "dead flat". Any place where the clear-coat is thicker, like the joint between the
stabs, it is glossier.
I think our flattener settled out some while spraying and the last coat was glossier than the coats before it. We probably should have stirred it part way through spraying. I say this because we
shot a test panel very first thing after mixing, and didn't spray it quite as thickly as on the
model, and it ended up flatter than the plane. Lesson learned.
Besides the one small run I made on one of the elevator halves (holding the gun too close)...
the only problem we encountered while clear-coating was a possible incompatibility with Top
Flite's panel-line marker (used to darken the panel lines on the aluminum underside). This ran
some on the underside of both ailerons.
The ballpoint pen I used on most of the model's aluminum surfaces didn't have a problem... nor
did the #2 pencil used on the latex side. Of course, that was the ONLY thing that wasn't put on
the test-panel. Lesson learned.
I'll never do decals again if I can help it. Paint masks and painted graphics for me. Lesson learned.
The 3M Fine-line tape left a seemingly permanent residue on the clear sections of the canopy.
It also allowed some small leaks. The Tamiya masking tape didn't leak and left no residue. Lesson learned.
Several things left to be completed:
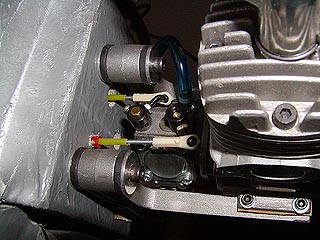
Install control-surfaces, engine, pneumatics, and radio gear (just like an ARF!)
Glue the canopy down. Need to try to get the tape residue off it first.
The wing doesn't fit as well to the fuse after glassing, painting, and clear-coating. Will have to see what I can do about that.
Range-test until I'm blue in the face! (need to run a few tanks through it to start the break-in process anyway...)
Probably replace the FM/PPM receiver with a PCM version, then range-test some more.
GO FLY!
Notes about the pictures below:
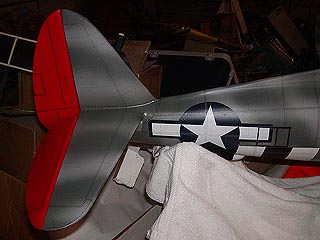
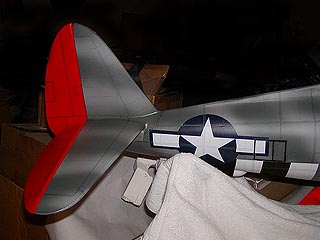
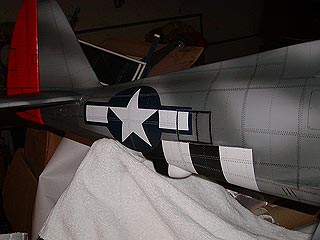
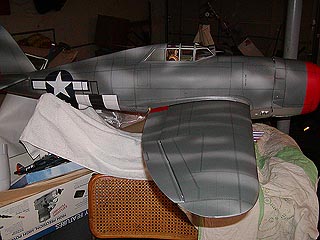
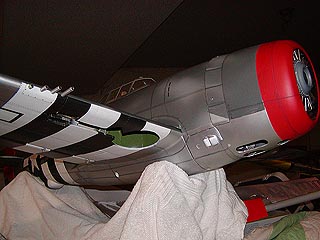
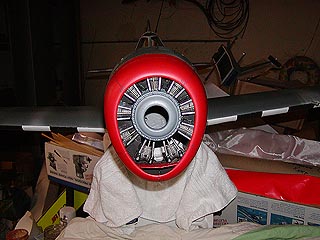
Plane is a bit darker in person than in some of the photos. The flash tends to lighten it a little (especially the "right front" picture and cockpit views).
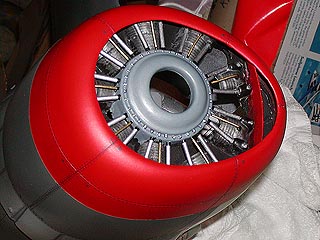
The red on the cowl and tail is more of a fire-truck red and not as orange as it appears in the
photo. The fluorescent-red Ultracote (shown under the model in a couple of the pics) looks like the
photo in person, but the red of the cowl and tail look way different and much more "true red". I
don't know why the pictures make them look close to the same color. I'll take some using outdoor
light instead of a flash when the model is finished.
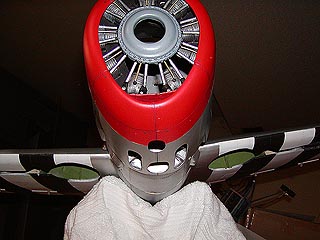
The airplane is sitting on a Robart Super Stand II with a towel over it.
Ignore the little piece of masking tape on the flap in the "right side" picture. It is holding the flap in place... as none of the hinges are glued yet.
The front LED display (voltmeter for ignition system) is installed, but the rear one (for the
RX) is not yet.
Click on the number below each image for a larger version of the picture (larger number, larger version of the picture)
Click here to return to the main P-47 page.
©COPYRIGHT NOTICE: You are granted permission to view these images while accessing these web pages, but I retain all rights to the images and they may not be used for any other purpose without my permission.
Copyright 2002 - Andy Steere
Last modified on 07/15/2002

since July 15, 2002.
