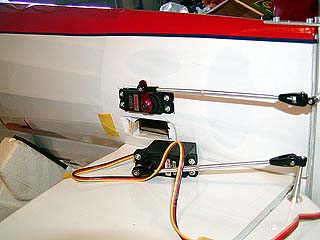
1600 / 1024 / 640 - I'm back from a week at the beach...
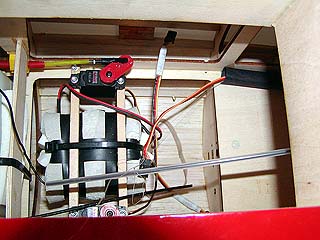
1600 / 1024 / 640 - Extensions are here, install time.
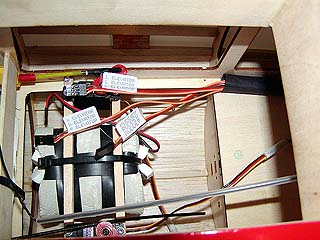
1600 / 1024 / 640 - fishing line as pull-strings.
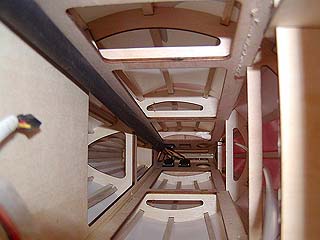
1600 / 1024 / 640 - Servo tube keeps wires in check.
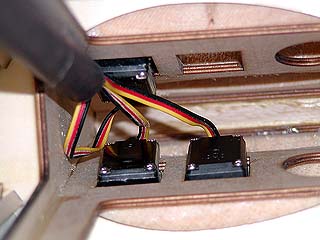
1600 / 1024 / 640 - Zoomed in on servos.
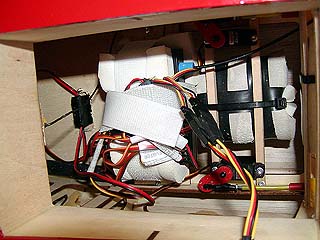
1600 / 1024 / 640 - need to clean this up some more.
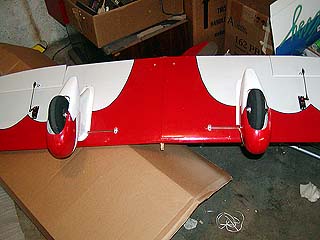
1600 / 1024 / 640 - Aileron horns and pushrods installed.
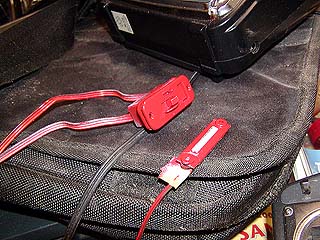
1600 / 1024 / 640 - Switch+LED painted matching red.
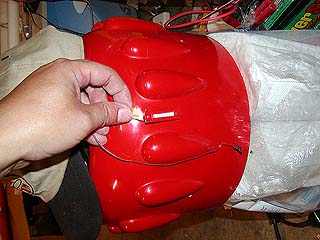
1600 / 1024 / 640 - Model Master Guard Red in a can.
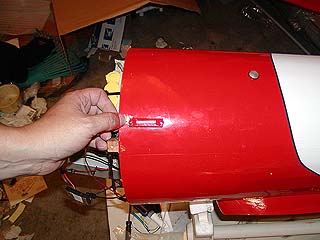
1600 / 1024 / 640 - Pretty close match.
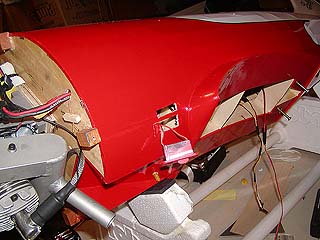
1600 / 1024 / 640 - Install Charge-Switch and LED.
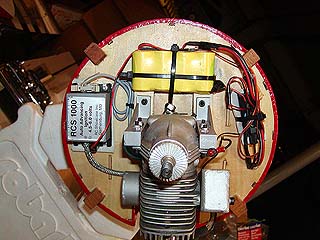
1600 / 1024 / 640 - Install custom ignition wiring...
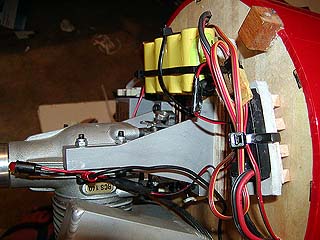
1600 / 1024 / 640 - made by www.radicalrc.com.
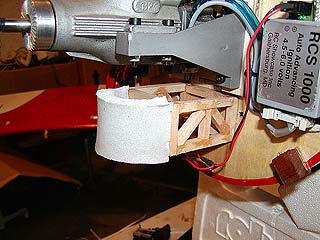
1600 / 1024 / 640 - Initial balance says 9oz tail-heavy...
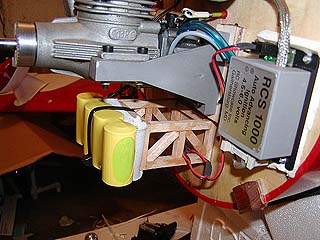
1600 / 1024 / 640 - So, move the batteries forward.
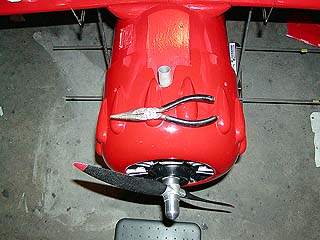
1600 / 1024 / 640 - Will still need 4-5oz of lead. :-(
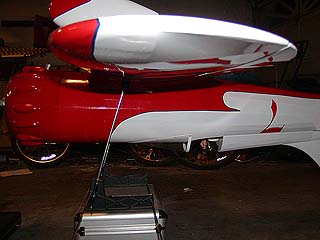
1600 / 1024 / 640 - GP balancer, with long base-rods.
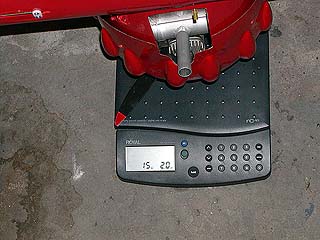
1600 / 1024 / 640 - 15 lbs 2 oz before balast added.
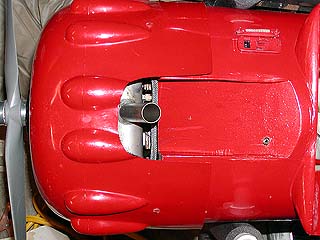
1600 / 1024 / 640 - Needed more cooling...
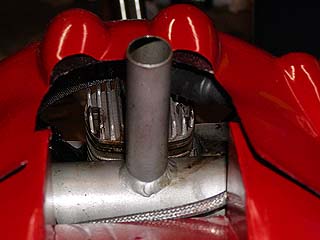
1600 / 1024 / 640 - so I opened up the cowl bottom.
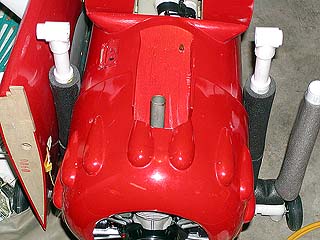
1600 / 1024 / 640 - Can't tell from the front.